

Ice Fishing for Pike: How to Find and Catch Northern Pike
Ice fishing for pike comes down to one thing more than any other: letting the fish tell you which method they want, not the other way around. Over the years, we’ve run tip-ups, jigged, and deadsticked for pike through the ice across more spots than we can count — different lakes, different states of ice, different years. The story is almost always the same. This guide walks through everything we’ve learned putting all three approaches to the test, from finding pike under the ice to landing them safely through the hole.
Quick Answer
Here’s the short version if you’re heading out today:
- Look for weed edges, drop-offs, and transition zones where baitfish concentrate — that’s where pike hold.
- Use tip-ups to cover water across multiple spots and depths at once.
- Use jigging when you want to actively search a hole and trigger a reaction from fish that are nearby but not committing.
- Use a deadstick when you need a quieter, more natural presentation next to an active hole or inside a shelter.
- Adjust bait height to where the fish and forage actually are — not to a fixed number pulled from a chart.
- Check local regulations and ice conditions before you drill a single hole.
Ice Safety Comes Before the Fishing
Before any talk of weed edges or tip-up spreads: no natural ice is ever completely safe, no matter how thick it looks. Ice thickness can change dramatically over a short distance, especially near inlets, outlets, current, and pressure ridges.
The Minnesota DNR uses 4 inches as a general guideline for one person on foot—but that number applies only to new, clear ice, not ice that has been weakened by thawing, covered by snow, or has a slushy or dark appearance. Treat those conditions as warning signs regardless of the thickness measured elsewhere on the lake.
Check the ice as you go, not just once at the access point. Start checking from shore and continue as you move farther out—thickness is not uniform across a lake. Be especially cautious around:
- Current areas, including river mouths, inlets, and outlets
- Visible cracks, pressure ridges, or changes in ice color
- Dark, slushy, or recently refrozen patches
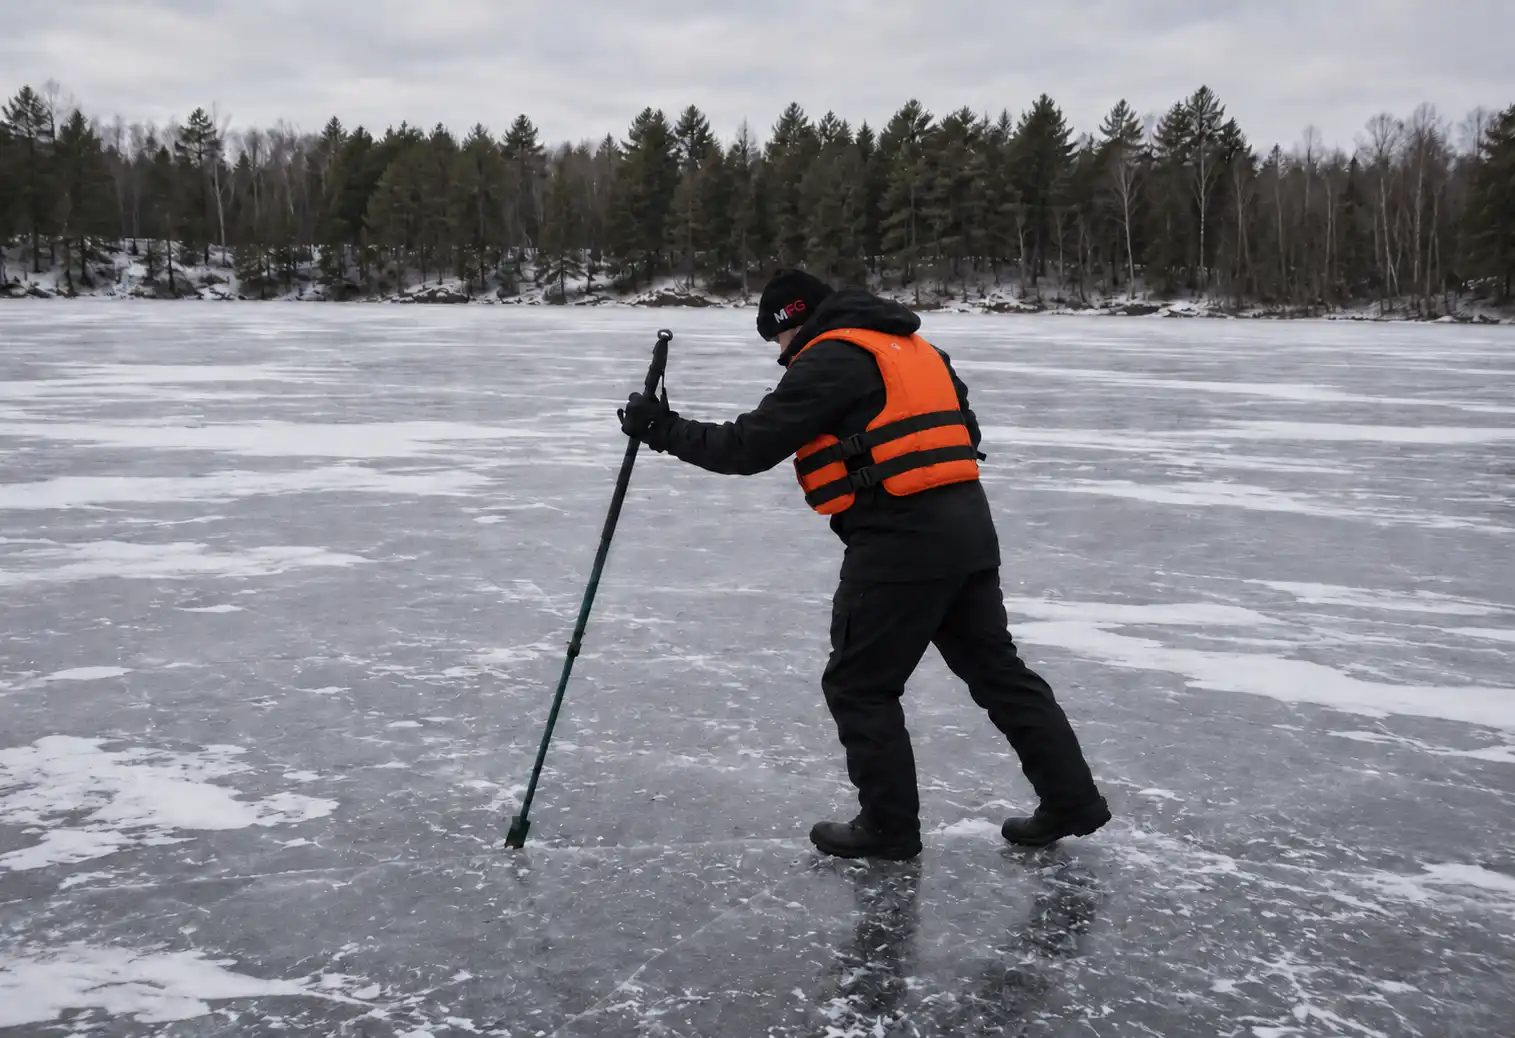
Carry ice picks, use a spud bar to check the ice ahead as you walk, wear a properly fitted life jacket or an ice-fishing flotation suit, and avoid going alone. Remember that flotation equipment may improve your chances after a breakthrough, but it does not make unsafe ice safe or automatically replace a certified PFD. These precautions apply every time you step onto the ice, regardless of how often you have fished that lake before.
What Pike Do Under the Ice
Pike don’t simply shut down in winter. They remain active and capable of feeding throughout the ice season, although where they hold and how aggressively they feed can change as conditions develop. The pattern isn’t identical from lake to lake. Research on wintering pike has found meaningful variation between waters, individual fish, available habitat, and prey. Some studies found pike using areas closer to shore during winter, while others found comparatively little seasonal difference in habitat use. Treat the phases below as a starting framework, not a fixed rule.
Early Ice
Where healthy green vegetation remains and receives enough light, it can continue producing oxygen while providing cover for baitfish. That makes surviving weed edges and nearby prey-rich water productive places to begin searching. Early ice can vary sharply in thickness and strength across the same lake, so checking conditions continuously is essential.
Midwinter
As snow cover builds and less light reaches the water, vegetation may decline in some lakes, and oxygen can become limited in shallow or poorly circulated areas. Prey and pike may shift toward deeper weed edges, drop-offs, and other structural transitions—but not universally and not on every water. Don’t assume every pike moves deep in midwinter. Lakes with healthy vegetation, sufficient oxygen, or a strong shallow forage base can continue holding fish shallower than the calendar alone would suggest.
Late Ice
As daylight increases and the ice season approaches its end, areas connected to spawning habitat can become increasingly important. Pike may begin positioning near shallow bays, tributary mouths, marsh connections, and other routes toward suitable spawning water. This is not one synchronized migration across every lake, so use observed forage, local conditions, and fish activity to confirm the pattern. Deteriorating late ice can also become unpredictable quickly, making continued safety checks essential.
For a broader look at how pike respond to cold water, changing light, weather, and short feeding windows, see our winter pike behavior guide. That article covers winter behavior more broadly, while this guide remains focused on decisions made when fishing through the ice.
Where to Drill Your First Holes
Once you’ve confirmed a safe route onto the ice, ice fishing for pike begins with where you place your first holes. Location usually matters more than small differences in tackle, so instead of chasing one “ideal depth,” work through a simple decision sequence:
- Start around a surviving weed edge or another shallow zone holding forage. Healthy vegetation and confirmed baitfish activity are useful starting signals, especially during early ice.
- Spread your first holes across the inner weed edge, outer edge, and first nearby transition. That might be where vegetation gives way to open bottom, where the bottom composition changes, or where a drop-off begins. Covering several related zones is more useful than placing every hole at the same depth.
- If nothing shows after a reasonable wait, expand toward the next meaningful depth change. Test a drop-off, point, or basin edge rather than drilling additional holes along an unproductive contour.
- If your electronics show baitfish suspended off the bottom, don’t leave every presentation pinned low. Pike often position near or slightly below suspended forage, so stagger bait heights until activity reveals the productive level.
- Avoid current areas and other high-risk zones whenever possible. River mouths, inlets, outlets, narrows, and similar areas can weaken ice unpredictably. A suitable measurement nearby does not guarantee that the ice remains consistent across the entire area.
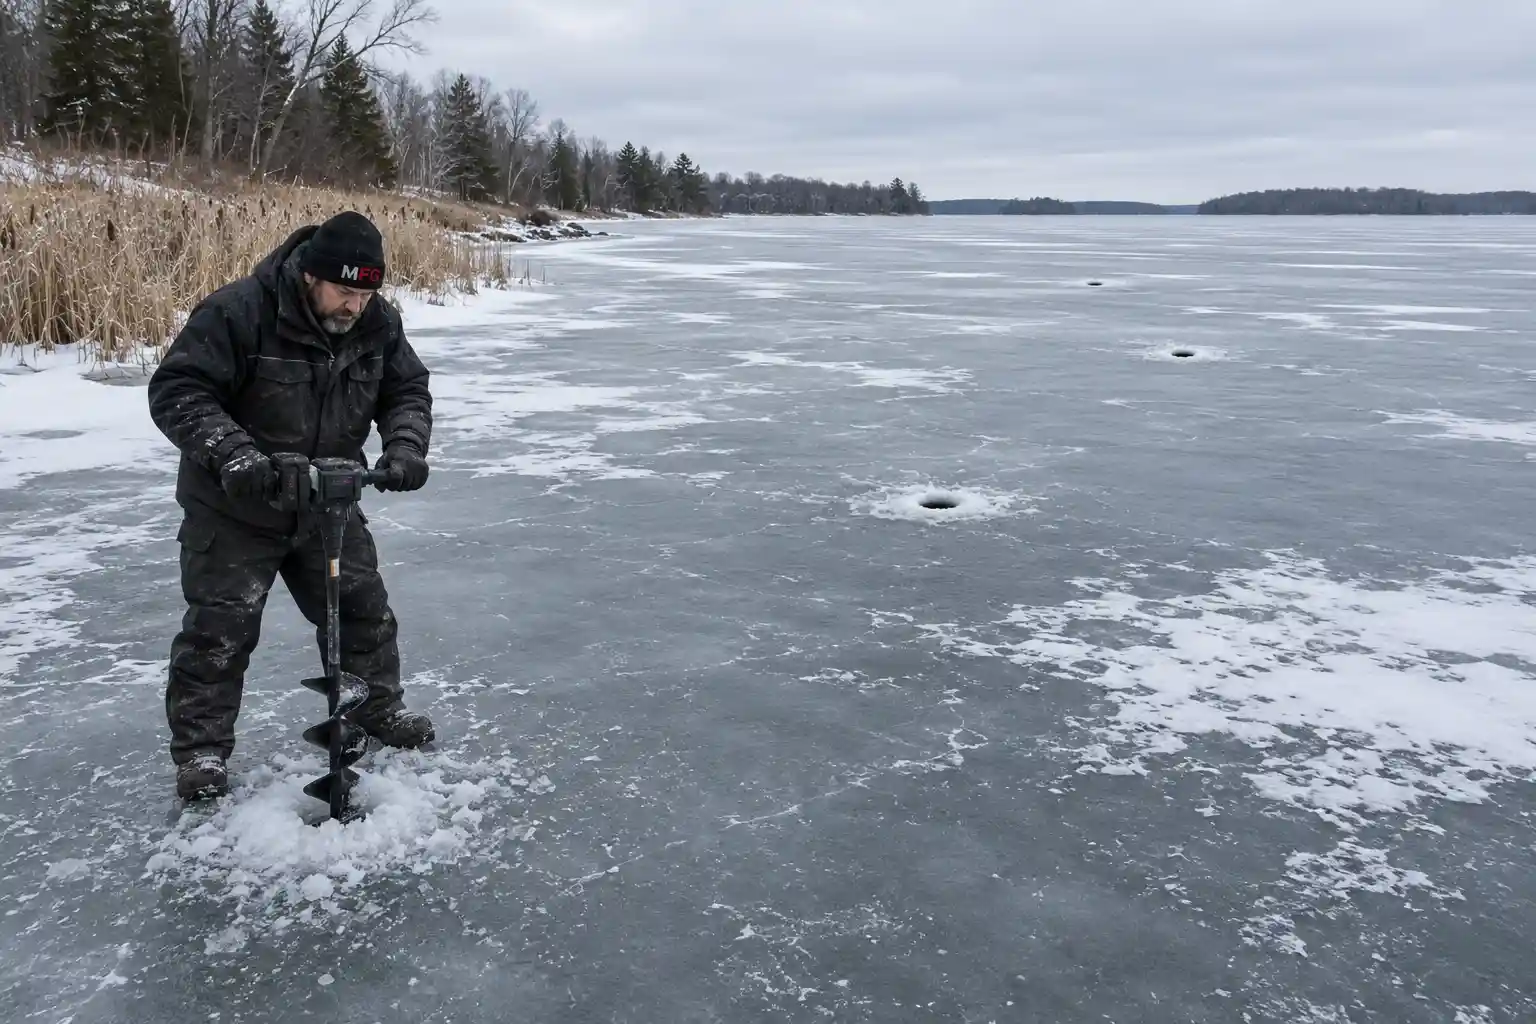
This sequence works whether you ultimately use tip-ups, jigging, or deadsticking. Find a productive zone first, then choose the presentation that best fits the fish’s location and activity level.
Tip-Ups, Jigging, or Deadsticking?
This is the question we get asked more than any other, and after years of running all three methods side by side, our answer is always the same: let the fish and the conditions decide, not personal preference. Each method does a different job well, and the best pike anglers we’ve fished with switch between them constantly rather than committing to just one.
| Method | Best For | What It Does Well | Main Limitation |
|---|---|---|---|
| Tip-Up | Covering Multiple Spots | Widens your search area and holds a natural bait presentation without requiring you to stay on one hole | Limited by how many lines your state or province allows; slower to react than a rod in hand |
| Jigging | Actively Searching a Hole | Lets you change depth, rhythm, and lure on the fly until something triggers a strike | Only covers one hole at a time — you’re not searching water while you jig |
| Deadstick | A Quieter, Passive Presentation | Can pick off fish that follow a jig or tip-up bait but won’t commit to something moving | Needs a clear way to detect a bite — a subtle take is easy to miss without a good indicator |
In practice, the strongest approach usually isn’t picking one — it’s running two or three together. A common setup: a spread of tip-ups to cover water, one line jigged actively to search and trigger reaction bites, and a deadstick set quietly near whichever hole has shown the most activity. Which combination works best on a given day comes down to how aggressively the fish are feeding, not a fixed rule.
Build a Pike-Safe Ice Setup
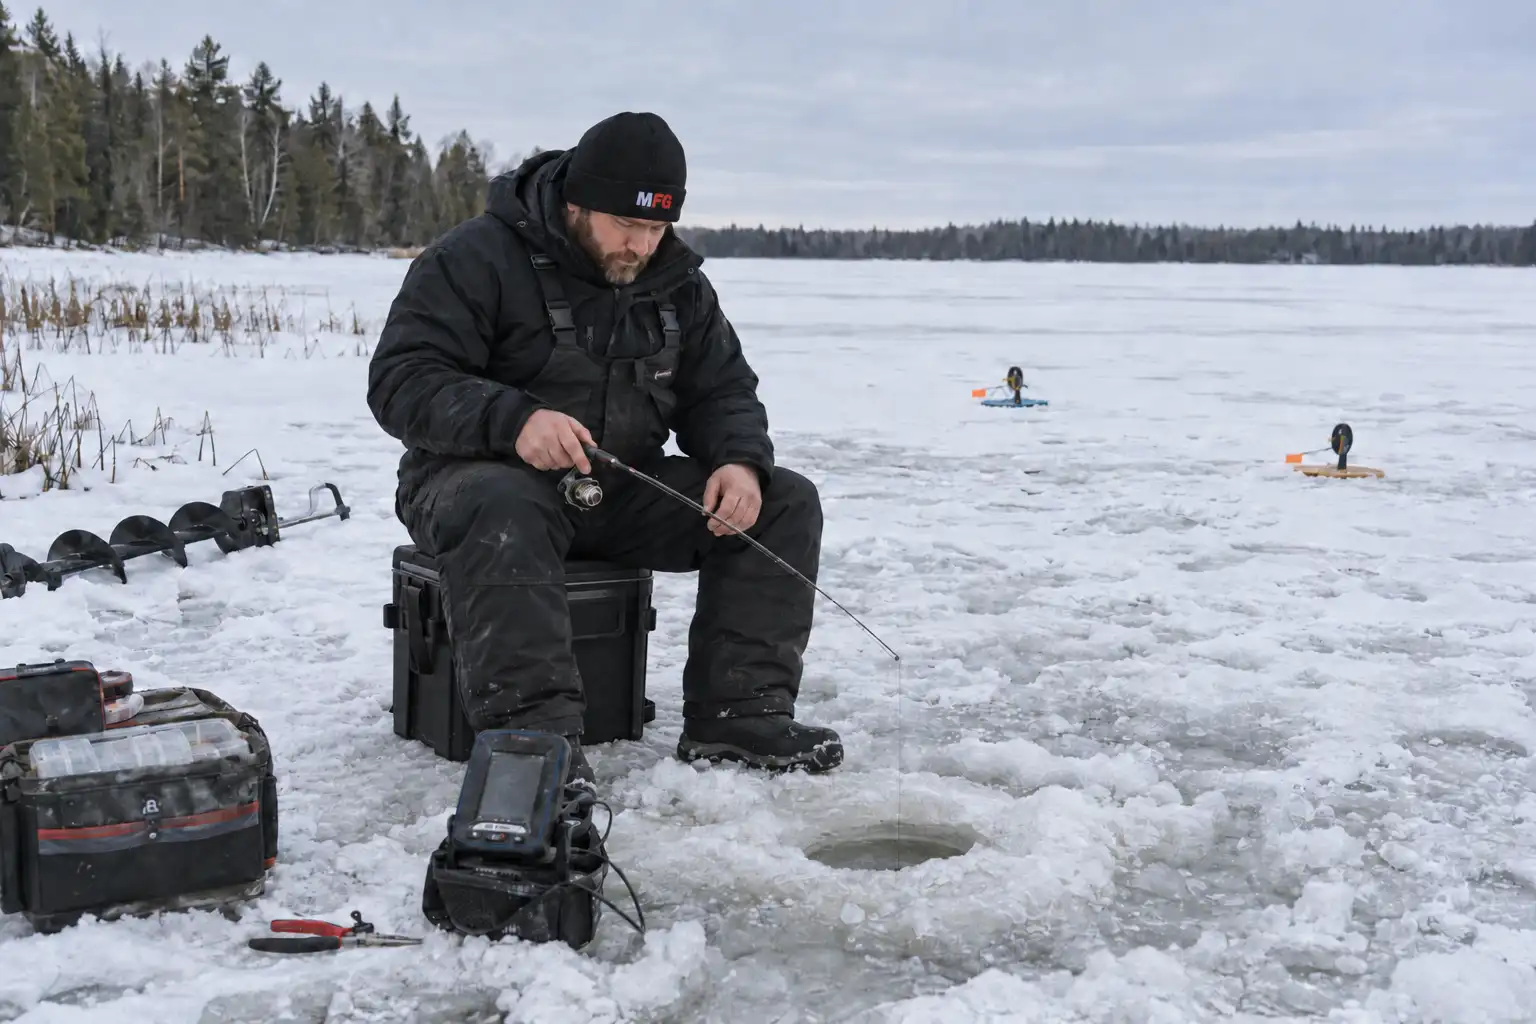
You don’t need a mountain of gear to fish pike through the ice — you need the right basics for whichever method you’re running that day.
Tip-Up Rig
- Main line: a durable braided or Dacron line that resists freezing and handles a long pike run
- Leader: wire or heavy fluorocarbon — pike teeth will cut through light line in a single strike, so this isn’t optional
- Hook system: a quick-strike rig where regulations allow it, sized to the bait you’re running
- Weight: just enough to hold your bait at the depth you’ve chosen without restricting its movement
See our best tip-ups for pike guide for tested picks across budgets and conditions.
Jigging Setup
- Rod: enough backbone to drive a hookset home, with enough give to absorb a pike’s runs
- Reel and line: a reel that won’t seize up in the cold, paired with line rated to handle sharp ice edges around the hole
- Leader: the same rule applies here as with tip-ups — no leader, no pike
- Lure: sized to get a pike’s attention without looking wildly out of scale with the forage actually in the water
See our guides to ice fishing rods, reels, and rod and reel combos for pike-ready options.
Deadstick Setup
- A visible bite indicator — something you can see from a distance without staring at the hole constantly
- A properly set drag or open-spool system that lets a pike move with the bait instead of feeling resistance immediately
- A quiet, minimal presentation — the whole point of a deadstick is that it doesn’t move like the bait on your jigging rod
Anglers have experimented with homemade bite-detection tricks for deadsticking over the years — these can work, but they’re personal workarounds rather than a proven standard setup, so treat them as something to try, not something to rely on.
How High Should the Bait Be?
This is one of the most common questions in ice fishing for pike, and there’s no single number that works everywhere. The right starting height depends on the position of the fish, their forage, the bottom, and any remaining vegetation—not one fixed formula applied to every lake.
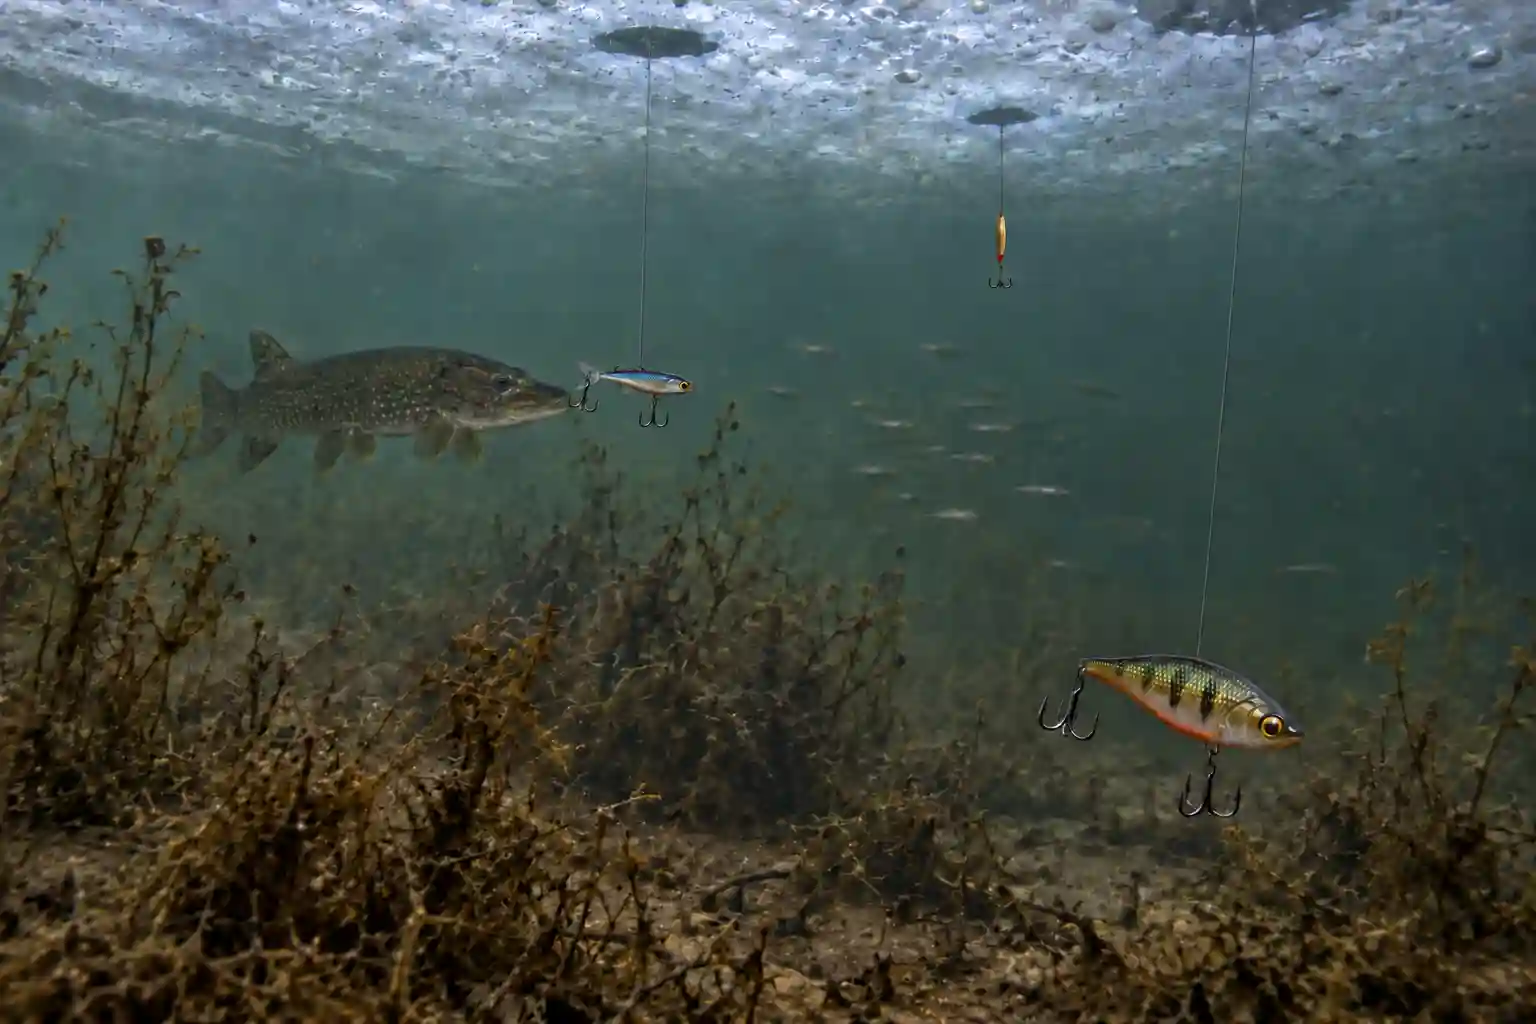
- Keep bait closer to the bottom when forage and pike activity are showing low in the water column, particularly along bottom-oriented structure.
- Raise bait higher in the water column when your electronics show baitfish suspended off the bottom. Pike commonly position near or slightly below suspended forage rather than remaining close to the lakebed.
- Keep the bait clear of the bottom and surrounding vegetation. A bait that remains visible and can move naturally is easier for a passing pike to detect than one buried in weeds, debris, or soft bottom.
- Let your electronics and the fish’s response override a general starting point. If marks consistently appear at a particular level but ignore the bait, adjust its height before abandoning the location.
- Vary bait height across your holes instead of setting every presentation identically. This turns the spread into a controlled test: the first contacts help identify the level worth concentrating on.
We’ve used very different starting positions depending on the water and what the fish were showing us. In shallow water, we’ve run bait only a foot or two below the ice; in deeper water, we’ve positioned it near the bottom, above vegetation, and alongside suspended forage. None of those positions worked everywhere. We use them as starting points, then adjust the rest of the spread around the depth that produces the first clear contact.
Live Bait, Dead Bait, and Artificial Lures
We’ve found that bait choice can matter just as much as method once we’re set up in the right area. Each option gives pike a different combination of movement, scent, profile, and visibility, so all three can earn a place in the spread.
- Live bait provides natural movement and scent, making it a strong option for tip-ups and deadsticks. Large suckers, shiners, and other legal baitfish are common choices for pike, but the permitted species and sizes depend on local regulations.
- Dead bait provides a stationary, scent-producing target that can work when pike are unwilling to chase an active presentation. It stays in the strike zone without continuous movement, but it should still be checked regularly and monitored as required by local fishing rules.
- Artificial lures are used mainly for jigging, where changes in movement, profile, vibration, color, and flash can trigger nearby fish. Jigging also lets us test several depths and presentation speeds quickly from the same hole.
Regulations covering live and dead bait—including permitted species, possession, harvest, preservation, and transport between states, provinces, or bait-management zones—vary by location. Check the rules for the specific water before buying, catching, or transporting bait for a trip.
For a full breakdown of specific lures and how to choose between them, see our best ice fishing lures for pike guide.
When the Flag Goes Up
A raised flag is the moment every tip-up angler waits for—but rushing the approach or using the wrong hook-setting sequence can lose a pike that already has the bait.
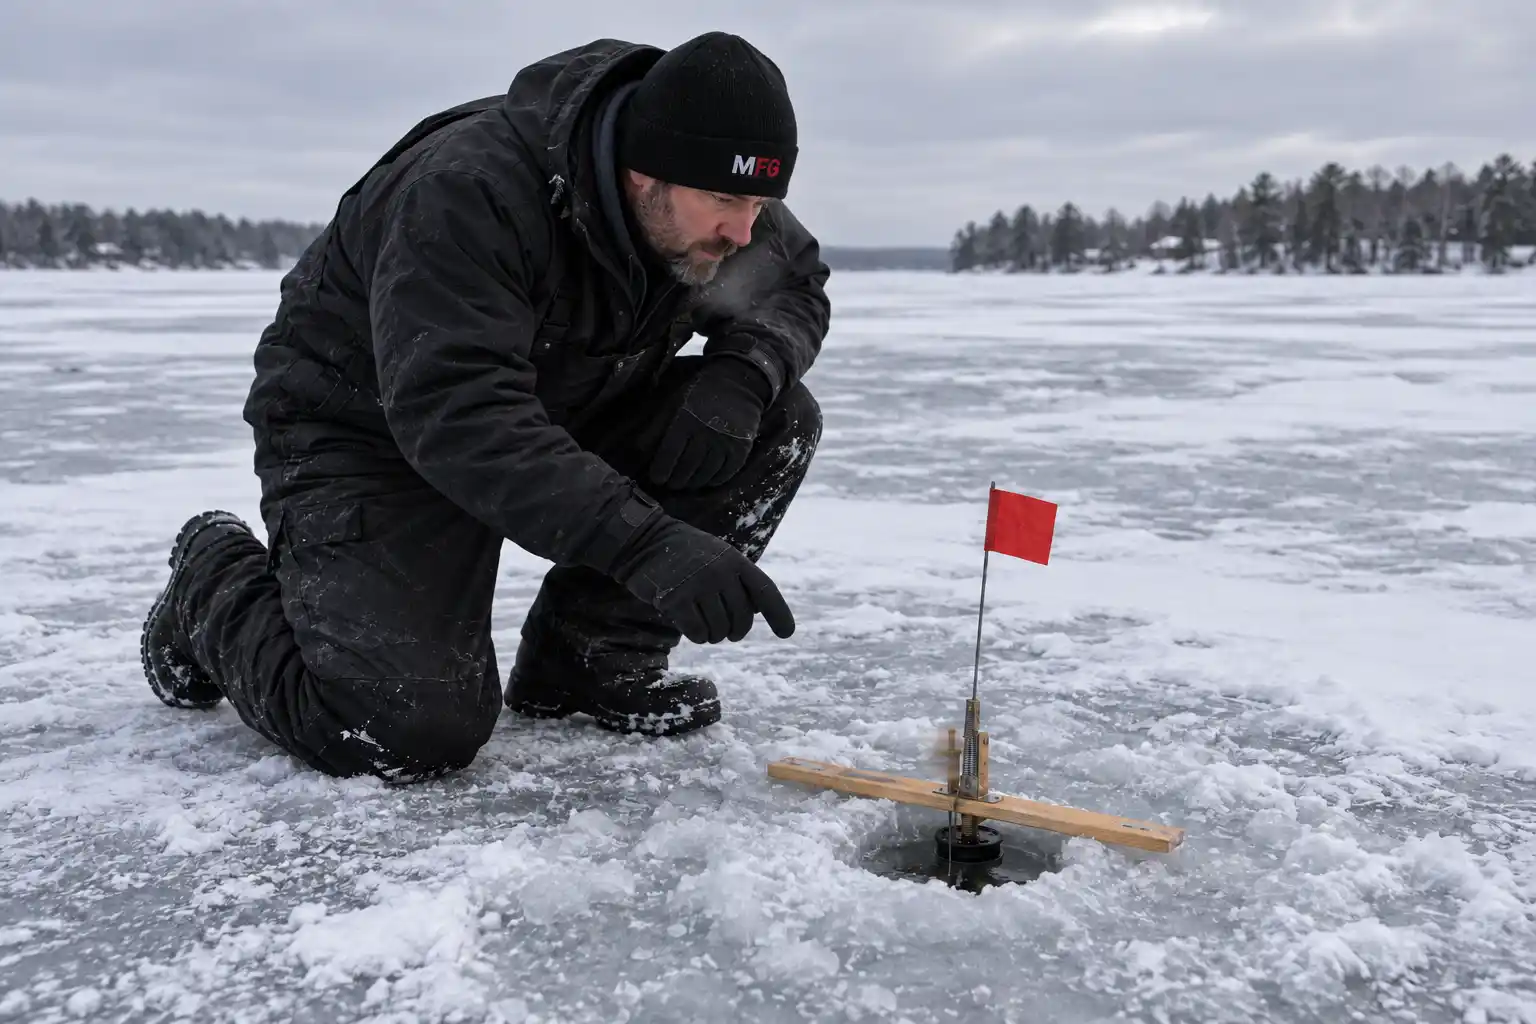
- Approach in a controlled way. Don’t sprint across the ice. Beyond the safety risk, heavy footsteps and vibration may cause a pike that is still holding or turning the bait to drop it.
- Watch the spool before touching the line. A steadily turning spool usually indicates that the fish is moving with the bait. A stopped spool is less conclusive: the pike may be turning the bait, holding in place, or may already have dropped it.
- Match the hookset to the rig. A properly rigged quick-strike system is designed for an early hookset. Take up the slack carefully and set the hooks when you feel the fish’s weight rather than deliberately waiting for it to swallow the bait.
- Treat a traditional single-hook setup differently. Pike commonly take a large bait crosswise before turning it head-first. With this type of rig, spool movement and the weight felt through the line can help determine when the fish has repositioned the bait. Avoid applying the quick-strike sequence—or one fixed waiting time—to every single-hook presentation.
- Don’t let the stopwatch replace what the line is telling you. Movement, a pause, and then renewed movement can indicate that a pike is repositioning the bait, but none of those signals guarantees exactly what the fish is doing. Come tight carefully, feel for weight, and respond according to the rig being used.
- Know the hook regulations before you’re standing over a flag. Rules covering single hooks, treble hooks, quick-strike rigs, hook points, and unattended lines vary by jurisdiction and sometimes by individual water.
No Flags? Change the System, Not Just the Bait
A quiet spread doesn’t always mean pike aren’t around — it usually means something about the setup needs to change. Over years of running spreads that went cold, these are the adjustments that have actually turned things around for us, more often than switching bait alone.
| Symptom | Likely Cause | First Adjustment |
|---|---|---|
| No contact on any hole | Wrong zone for current conditions | Move part of the spread to the next transition or depth change |
| Activity only on one side of the spread | You’ve found an edge or travel corridor | Concentrate more lines — where regulations allow — around that active zone |
| Bait keeps getting stolen or comes back damaged | Hook placement, bait size, or a late hookset | Check the bait and rig, and reconsider hook position |
| Fish show up on electronics but won’t hit the jig | Presentation is too aggressive for the mood they’re in | Slow down, or add a deadstick alongside the jigging hole |
| Marks appear above the bait, not near it | Bait is set too low in the water column | Raise a few presentations off the bottom |
| One flag, then a long stretch of nothing | Fish are moving through rather than holding | Stay long enough to see if the pattern repeats, then relocate if it doesn’t |
Treat these as diagnostic signals, not guaranteed answers. We’ve had days where two of these applied at once, and days where none of them explained a slow bite — sometimes the fish simply weren’t there yet. What’s consistent is that changing the system — where holes are, how bait is presented, how the spread is arranged — has produced more turnarounds for us over the years than just swapping one bait for another.
Landing and Releasing a Pike Through the Hole
Landing a pike through an 8- or 10-inch hole is a different game than netting one from a boat—and after doing it enough times, we’ve found that preparation and controlled handling make the difference between a clean release and keeping the fish out of the water longer than necessary. This isn’t a full handling walkthrough—for the complete picture on grip, support, and release technique, see our guide to handling pike safely.
- Match the hole to the fishery. An 8-inch hole handles most pike, while a 10-inch hole provides more room on water known for exceptionally large fish. Remember that a larger opening also creates a greater safety hazard on the ice.
- Bring the pike’s head into alignment with the hole. Maintain steady pressure and guide the fish upward when its head faces the opening. Don’t try to pull its body through sideways or force it against the edge—we’ve watched anglers lose fish and damage tackle by trying to muscle a badly positioned pike through the hole.
- Have your release tools ready before the fish reaches the surface. Keep long-nose pliers and hook cutters within reach. A jaw spreader can help in specific situations, but use it only when necessary and never force the jaw beyond its natural range.
- Support the fish horizontally once it is out of the hole. Don’t leave a large pike hanging vertically from its jaw or gill area. Support its body with your other hand and maintain control without squeezing the fish.
- Minimize exposure to freezing air. If the pike is being released, complete the unhooking and any photograph efficiently, then return it to the water as quickly as safe handling allows.
What You Actually Need on the Ice
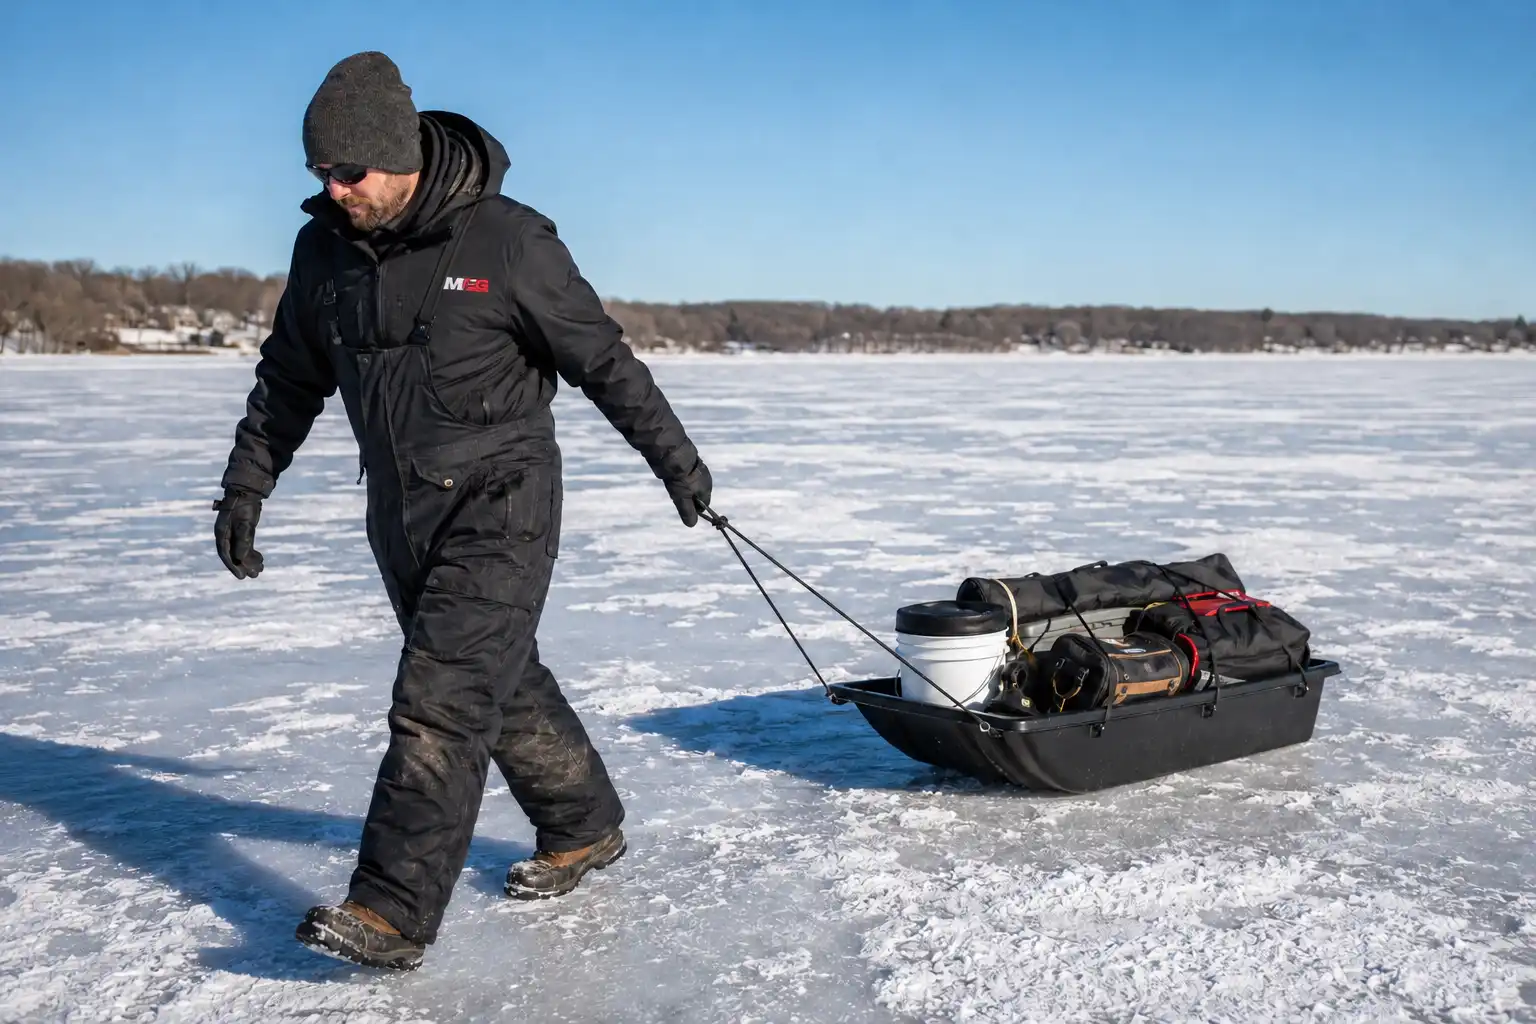
You don’t need every piece of ice-fishing equipment on every trip. We’ve found that the method we’re using, the distance we’re covering, and the conditions we’re facing should determine what goes in the sled. Here’s what earns its place, category by category.
- A setup matched to the way you’re fishing. Tip-up anglers need dependable units, suitable line, tooth-resistant leaders, and terminal tackle matched to the bait — covered in the Setup section above. Active anglers need an ice rod and reel with enough backbone and line capacity for pike. See our guides to ice fishing rods and reels for pike-ready options.
- An auger sized for the fish you’re targeting. An 8-inch hole handles most pike, while a 10-inch hole provides additional room on water known for exceptionally large fish. Larger holes also require additional care, so check local diameter restrictions and mark or cover holes when they are no longer being used. See our best ice augers for pike guide.
- Electronics as an aid, not a requirement. A flasher or fish finder can reveal bottom depth, vegetation, suspended baitfish, and other sonar targets, helping you adjust bait height and decide whether a hole deserves more time. It cannot reliably identify every mark as a pike, and you can still catch fish without one. See our best ice fishing fish finders guide.
- A shelter and sled matched to the way you move. When we’re running a wide tip-up spread and moving between holes, a bulky shelter can slow us down more than it helps. When we’re jigging or deadsticking in one area for hours, the protection of a shelter earns its weight. Either way, a sled makes hauling an auger, bait, safety equipment, and other gear substantially easier. See our guides to ice fishing shelters and ice fishing sleds.
- Safety, traction, insulation, and flotation appropriate for the conditions. Ice picks and a spud bar belong in the safety setup, while a solid pair of winter fishing boots and layered clothing limit heat loss on long days. Flotation-assist outerwear, like our tested floating ice fishing suits, can provide additional buoyancy after a breakthrough, but it does not make unsafe ice safe or automatically replace a certified PFD. We’ve had days when dependable traction mattered as much as anything else in the gear bag.
- Hook-removal tools that remain manageable with cold hands. Keep long-nose pliers and hook cutters within reach before a fish comes through the hole. A jaw spreader may help in specific situations, but it should be used only when necessary and without forcing the jaw beyond its natural range.
The goal isn’t to pack everything—it’s to match the gear to the method and the day. A mobile tip-up session and a stay-put jigging session inside a shelter require different setups, even though both fall under ice fishing for pike.
Check the Rules Before You Set a Line
Regulations for ice fishing for pike vary by state, province, and sometimes by individual body of water. We’ve been caught off guard by a rule change on a lake we’d fished for years, so this is worth checking before every season and every trip—not just once.
- Number of lines allowed per angler—this directly determines how many tip-ups, jigging rods, or deadsticks you can legally use at the same time.
- Permitted hook systems—some waters restrict treble hooks, barbed hooks, the number of hooks or hook points on a rig, or how multi-hook quick-strike systems may be used.
- Live and dead bait rules—check which species may be used, harvested, possessed, or transported, and whether bait can cross state, provincial, or bait-management-zone boundaries.
- Size and possession limits—these can differ sharply between waters within the same state or province, especially where pike populations are being managed for different objectives.
- Closed waters and seasonal closures—a lake containing pike is not automatically open to ice fishing or open to pike harvest throughout the entire ice season.
- Tip-up identification, attendance, and distance requirements—some jurisdictions require identifying information on stationary fishing devices, limit how far you may move from them, or prohibit leaving them unattended.
Check the current regulations directly with the responsible state or provincial wildlife agency before your trip. Rules change, and a general guide like this one cannot replace the current rulebook for the specific water you’re fishing.
Frequently Asked Questions
What depth is best for ice fishing for pike?
There’s no single ideal depth because it changes with the lake, season, structure, and location of the forage. A useful starting range on many natural lakes is roughly 6 to 15 feet, but pike can be shallower or deeper than that. We use vegetation, structural transitions, baitfish activity, and electronics when available to decide where to set our first lines rather than relying on one fixed depth.
Are tip-ups or jigging better for pike?
Neither is universally better because they do different jobs. Tip-ups let us cover several locations and depths at once where regulations permit multiple lines, while jigging lets us work the water column actively and change the presentation immediately. We frequently use both together and let the fish’s response determine which method gets more attention.
How far off the bottom should pike bait be?
It depends on where the pike and their forage are holding. We keep some baits closer to the bottom when activity is low in the water column and raise others when baitfish or fish appear suspended. Setting different lines at different heights is usually more informative than placing every bait at the same depth.
Do you need a wire leader for pike?
You need a bite-resistant leader, but it doesn’t always have to be wire. Wire provides excellent protection from pike teeth, while properly selected heavy fluorocarbon is another option anglers use when they want a less visible presentation. Pike can cut through light line, so we never fish for them without suitable leader material and inspect the leader after every fish or damaged bait.
How long should you wait before setting the hook on a tip-up?
Match the timing to the rig rather than counting a fixed number of seconds. With a quick-strike rig, we set the hook as soon as we come tight and feel firm weight. A legal single-hook bait rig may require more time for the pike to reposition the bait. Watch the spool, feel the line, and check the hook regulations for the water you’re fishing.
Do you need a fish finder to catch pike through the ice?
No. We caught pike through the ice before we started relying on electronics, and anglers have done it for generations. A flasher or fish finder can show baitfish and larger fish targets in the water column, helping us select bait height and decide whether to keep working a hole. It cannot reliably identify every return as a pike, but it removes a lot of guesswork.
Your First-Hour Plan
After enough seasons doing this, here’s the routine we default to on a new spot when we don’t already know where the fish are holding:
- Check the ice as you walk out — don’t stop checking just because the access point looked solid.
- Pick a weed edge or transition zone to start, based on whatever structure or vegetation you can identify.
- Drill a spread of holes across the inner edge, outer edge, and nearest depth change — not all at one depth.
- Set your baits at different heights rather than pinning everything to the bottom, while staying within the number of lines permitted where you’re fishing.
- Actively jig one hole while the rest of the spread works passively.
- Note where the first useful sign comes from — a flag, a jig strike, repeated fish marks, or concentrated baitfish on your electronics.
- Move part of the spread toward the zone producing the strongest evidence of activity, and give it time before judging whether the new position is holding fish.
It’s not a guarantee — some days nothing in this routine turns up a fish for an hour or more. But it’s the sequence that’s actually put pike on the ice for us more often than starting from a fixed depth and just waiting.